
Morning · 3 min
3-Minute Morning Stretch Routine
A gentle stretch of about three minutes to wake your body up in the morning. Easy full-body mobility to shake off stiffness before the day starts.
Do this routine in the Prep app
Get 3-Minute Wake-Up as a guided, timed session — with every move demonstrated and adjustable to how you feel.
Download on iOS
 1
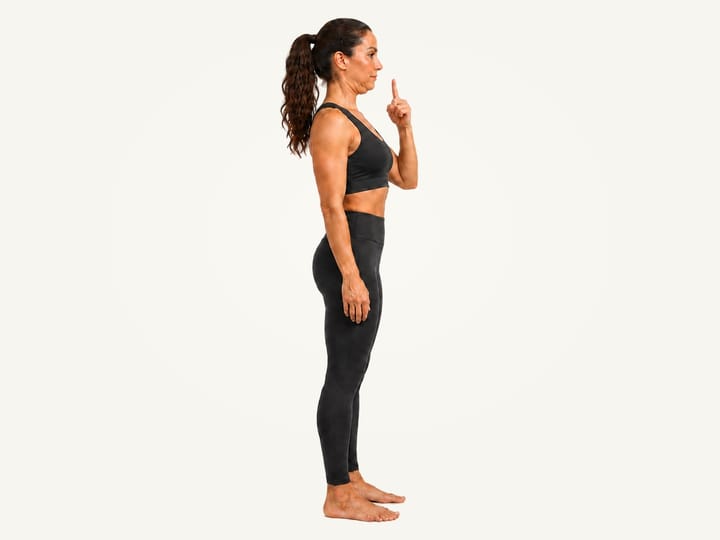
1Chin Tucks
30sDraw the chin straight back without tilting the head.
How to do it
- Stand tall with your feet comfortably apart and shoulders relaxed. Lightly touch one index finger to your chin without pressing.
- Hold your finger still and gently draw your chin straight back, leaving a small gap from the fingertip. Keep your eyes level and hold for 2–3 seconds without tilting your head.
- Relax back to a neutral head position and lower your hand. Repeat the same gentle chin glide for the prescribed time, or finish when you are ready, using your finger as a guide if helpful.
Why it matters
Practise drawing your head back with control while your shoulders stay relaxed.
How it should feel
A small glide of the head, with gentle work around the neck and possibly a light stretch at the back.
Make it easier or harder
- EasierSit with support. Rest against a chair and use a smaller chin glide.
When to stop
Stop if the movement is painful.
 2
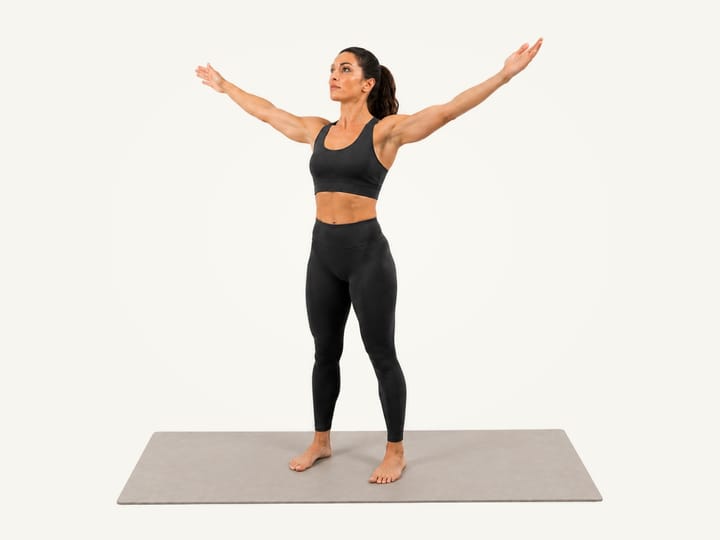
2Arm Circles
30sMake big controlled circles with the arms forward then back.
How to do it
- Stand tall with feet about shoulder-width apart. Extend both arms out to the sides at shoulder height, with elbows straight and hands relaxed.
- Begin smooth forward circles from the shoulders: move your hands forward and down, then continue around. Start small and gradually make the circles larger within a comfortable range; keep your torso steady.
- Continue the same circle by sweeping the arms back and up, then around to the front again. Reverse direction when comfortable. Keep moving smoothly, with a relaxed neck.
Why it matters
Move your shoulders through controlled circles before upper-body activity.
How it should feel
Smooth shoulder movement with gentle work in the arms and a relaxed neck.
Make it easier or harder
- EasierCircle one arm. Keep the circle small and the shoulder relaxed.
 3
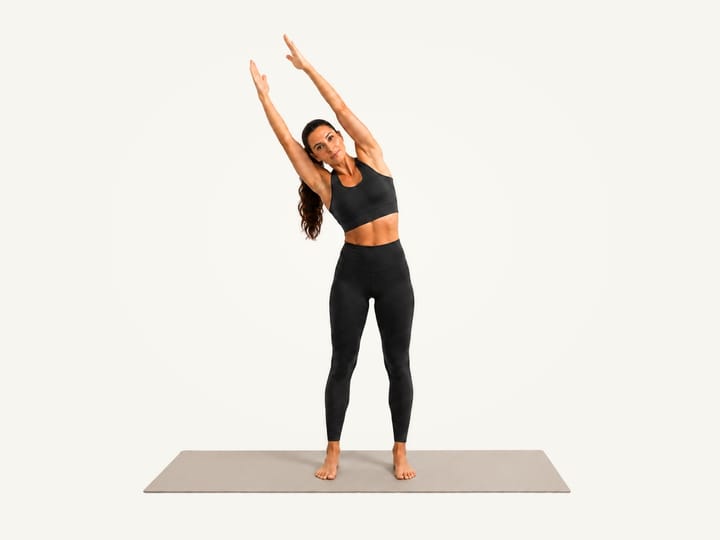
3Dynamic Side Bends
30sMove smoothly side to side through a standing side bend.
How to do it
- Stand tall with feet hip-width apart. Raise both arms overhead with palms facing each other, keeping your knees soft and ribs controlled.
- Bend gently to your right through the waist and ribs. Keep both feet flat, hips steady and chest facing forward; use a comfortable range.
- Return upright, then bend gently to your left with both arms overhead. Continue alternating through centre, without bouncing or forcing the range.
Why it matters
Explore gentle side bending through the ribs and waist.
How it should feel
A smooth lengthening along the side of the ribs and waist, without a compressed or pinching feeling.
Make it easier or harder
- EasierHands on hips. Use a small bend without lifting the arms.
- HarderSlow each return. Keep the same comfortable range and relaxed shoulders.
 4
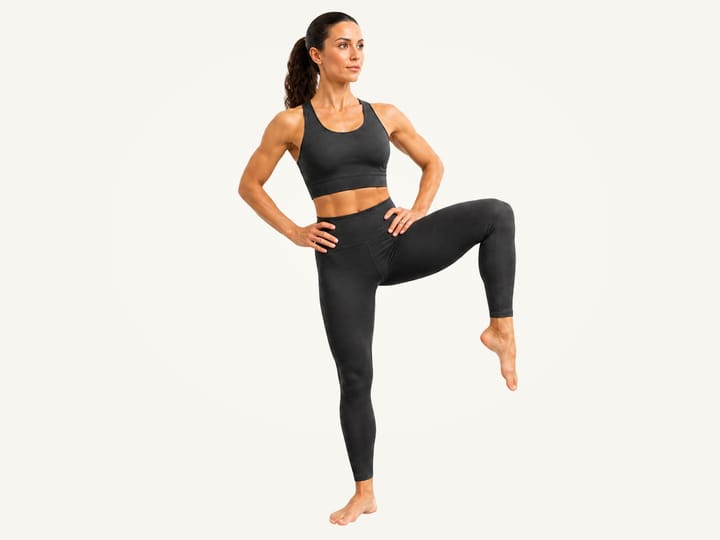
4Standing Hip Circles
30sLift one knee and trace a slow, controlled circle from the hip.
How to do it
- Stand tall with your hands on your hips and shift your weight onto your right foot. Use a wall or sturdy support if needed.
- Lift your left knee in front of you, keeping it bent and your torso upright. Raise it only as high as you can without rounding your back or hiking your pelvis.
- Slowly move your left knee out to the side from the hip. Keep your pelvis facing forward and your standing leg steady; make the circle smaller if you start to lean.
- Keeping the left knee bent, rotate the hip so the foot moves behind you, then guide the knee gently backward. Stay within a range that lets your back and pelvis remain steady.
- Bring your left leg back beneath you to complete the circle. Repeat slowly in the reverse direction, then change to your right leg when ready, or follow the routine’s side cue.
Why it matters
Explore several directions of hip movement with a slow bent-knee circle.
How it should feel
Controlled movement around the lifted hip, with the standing side keeping you steady.
Make it easier or harder
- EasierHold a stable support. Make a smaller circle at a comfortable knee height.
- HarderSlow the circle. Use the same range and less momentum.
 5
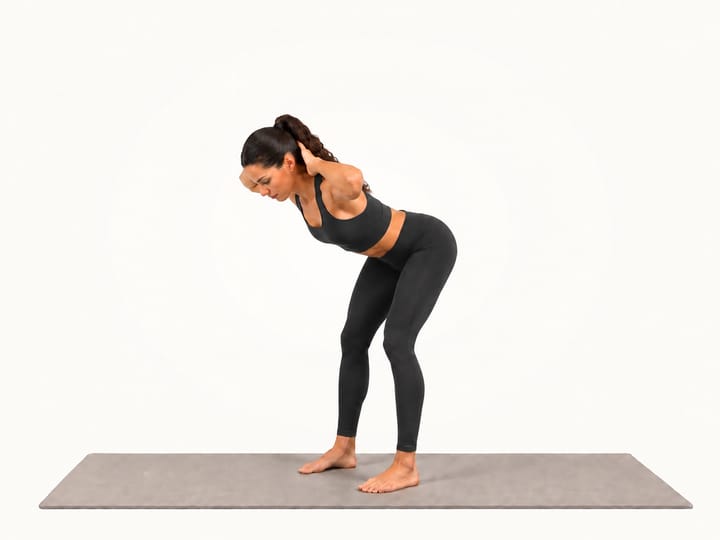
5Good Mornings
30sHinge at the hips with a long spine, then return to standing.
How to do it
- Stand with your feet hip-to-shoulder width apart and both soles flat. Soften your knees and rest your hands lightly behind your head, without pulling on your neck.
- Push your hips back and let your torso tip forward. Keep your knees softly bent, both feet flat and your head in line with your comfortably long back.
- Continue hinging only as far as a gentle hamstring pull, stopping before your back rounds. Press through both feet and bring your hips beneath you to stand tall without leaning backward. Repeat smoothly for the allotted time.
Why it matters
Practise moving from the hips while keeping both feet grounded.
How it should feel
Light work and a gentle lengthening through the backs of the thighs and buttocks.
Make it easier or harder
- EasierHands on hips. Practise a smaller hinge with light hand feedback.
- HarderLower more slowly. Keep the same bodyweight movement and comfortable range.
 6
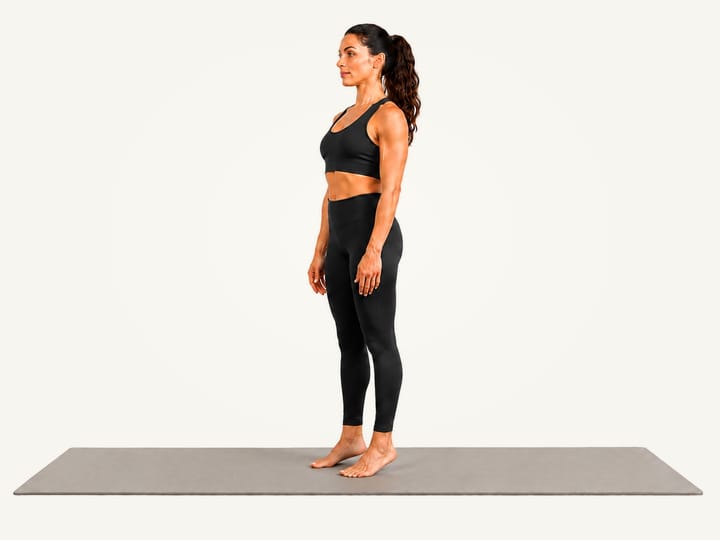
6Heel-to-Toe Rocks
30sRock smoothly from heels to toes to wake up the ankles and lower legs.
How to do it
- Stand tall with feet hip-width apart and both soles flat. Keep your knees soft and use a stable wall or secured chair if needed for balance.
- Slowly lift both heels a small amount while the balls of the feet and toes stay grounded. Keep your torso upright, then lower both heels fully to the mat.
- With both heels grounded, gently lift both forefeet and toes toward your shins. Lower your feet flat, then repeat the heel-to-toe sequence smoothly without bouncing or swaying.
Why it matters
Practise lifting the heels and forefeet in turn while keeping your trunk steady.
How it should feel
Alternating work through the calves and front of the shins as the feet move.
Make it easier or harder
- EasierMake the lifts smaller. Hold a wall or secured chair for balance.
- HarderSlow each lowering. Set the feet down gently between directions.


Do this routine in the Prep app
Get 3-Minute Wake-Up as a guided, timed session — with every move demonstrated and adjustable to how you feel.
Download on iOS